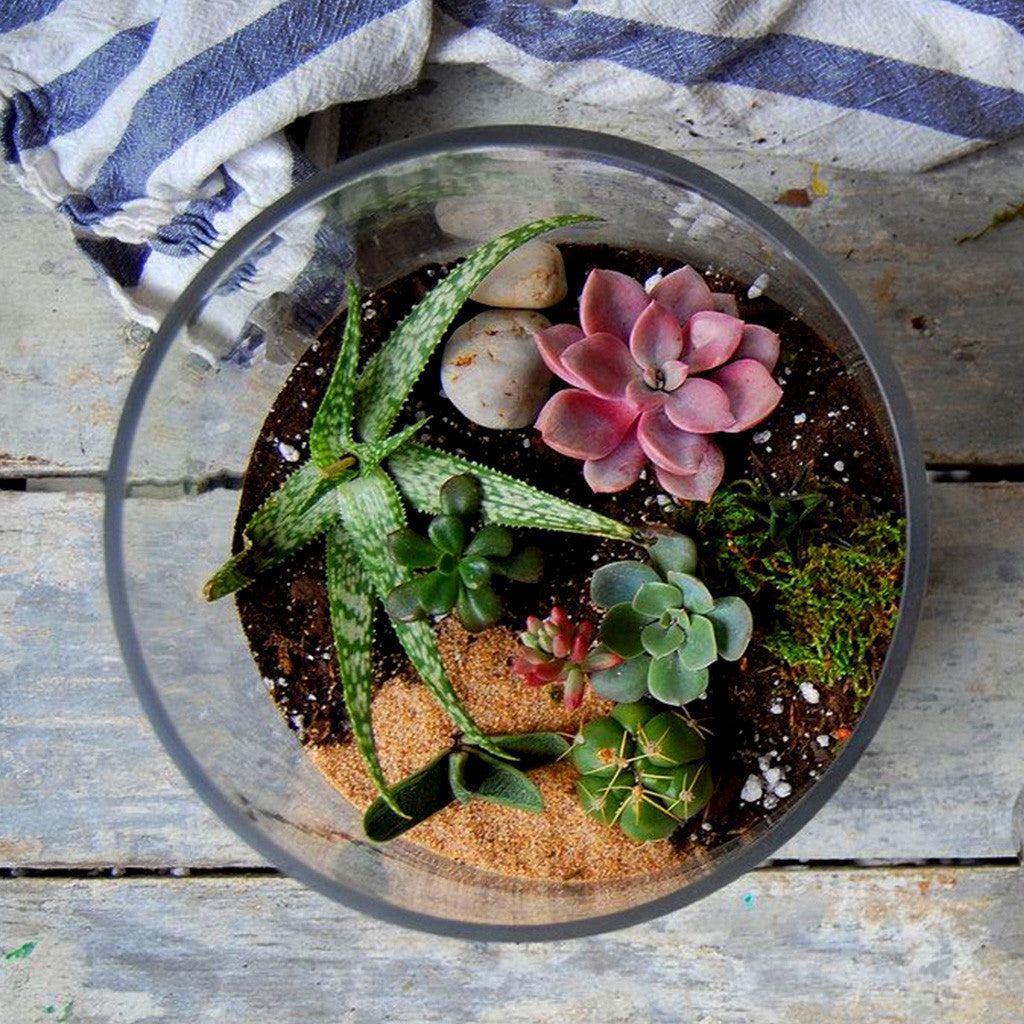
How to Make Your Own Green Terrarium
If you have a green thumb but minimal garden space, why not create your own mini-world full of lush and beautiful plants by making your own terrarium? Remember that having green plants around help improve your indoor air quality. Terrariums are easy-to-make, low-maintenance gardens, and can last almost indefinitely with minimal water
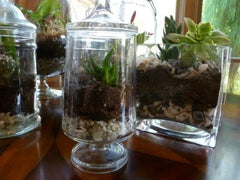
MATERIALS:
- A clear glass jar, vase, bowl, glass, or whatever interesting glass container you have on hand
- Rocks, pebbles or recycled glass chunks
- Activated charcoal (sometimes called activated carbon)
- Potting soil appropriate for your plants
- Moss (optional)
- Figurines, sticks or decorative items (optional)
- Various small plants
- A scoop, spoon or shovel
- Scissors
- Gloves
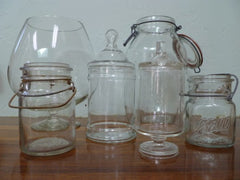
Source your containers from a thrift store or an antique store. Even simple jelly jars or canning jars can make beautiful terrariums. They can be left open or closed—it’s totally up to you. All other supplies can be bought at any local nursery or online store. You can find some jars on - http://tinyurl.com/zysz6ue
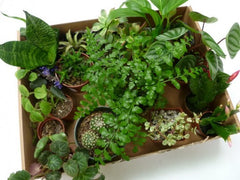
As for the plants, the sky is the limit, but generally speaking look for small plants that you can fit inside your jar and won’t grow too tall. Some plants will have multiple stems so you can break them up even further. To ensure that your terrarium will be successful, keep succulents and cacti together, and keep fern and tropical plants together, because they require different amounts of water and soil. You’ll want cactus soil for the succulents and regular old potting soil for everything else. The rocks are used as a false drainage layer while the activated charcoal helps keep the terrarium healthy, and the moss can be used for decoration and to help soak up and retain water.
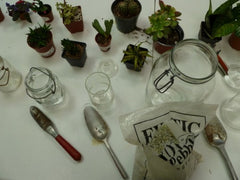
STEP 1: Prepare the Container
Remove any price tags or stickers from your vessel and wash both the interior and exterior thoroughly to ensure that there are no unwanted residues that could affect the health of your plants. Envision how you want to arrange your plants inside the jar. Imagination is the key.

Once the container is ready, fill the bottom with rocks or pebbles. This is to create a false drainage layer so water can settle and not flood the plant. The depth of the rocks totally depends on the size of your container, but aim for 1/2″ to 2″. You can find a varied range of pebbles and stones on - http://tinyurl.com/gwycwou
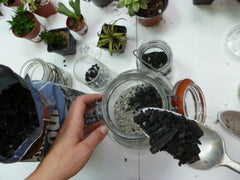
STEP 3: Add the Activated Charcoal
The charcoal looks exactly like what you would expect it to and it’s messy. Sometimes it comes as small granules and other times it comes as shards—either works. You don’t need much, just enough to cover the rocks. The charcoal will improve the quality of your little world including reducing bacteria, fungi and odors.
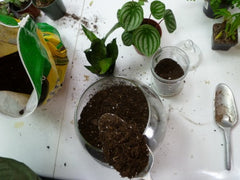
STEP 4: Add Soil
Again, cactus and succulents need a special soil compared to most other plants, so be sure to get the appropriate bag depending on which plants you’re using. Add enough soil so the plant roots will have plenty of room to fit and then grow. Aim for a depth slightly greater than the height of the plant’s pot.
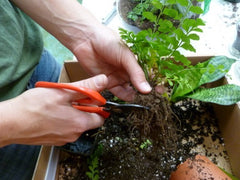
STEP 5: Plant
Take your plant out of the pot and break up the hard soil ball until you get down to the roots. If you’re breaking the plant into multiple parts, be gentle. You may also want to trim the roots if they are especially long; don’t worry, they’ll grow back. Using a spoon, your fingers, the end of a brush, or even a pencil, dig a well to place your plants roots in. Add more soil around the top and compact the soil down around the base of the plant. Continue placing your little plants in the container and try to keep them away from the edges. The leaves are likely to touch the sides but aim to keep them away as much as possible.
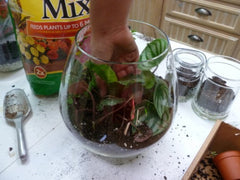
STEP 6: Add Accessories
After you’re done planting you can add little accessories like a blanket of moss (dried or living), little figurines, old toys, glass beads, shiny metal object, sticks, stones, or even a layer or rocks. This is your little world and you can put whatever you’d like in there.
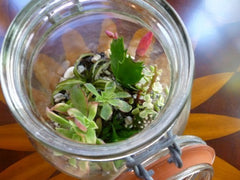
STEP 7: Clean and Water
You’ll likely have dirt all over the sides of the container, so wipe them down so you can enjoy the beautiful living world inside. Give the terrarium a little bit of water. Unlike most of your house plants, a terrarium doesn’t need to soaked: just a couple of shots of water should get it started.

Tips & Tricks
- Over time, monitor your terrarium’s water needs based on how dry the soil is. For terrariums with closed lids, if water is dripping down from the top, open the lid to let some evaporate. Likewise, you may need to add more if it looks parched. You shouldn’t need to water them very often.
- If leaves die or wilt, remove them from the terrarium immediately to maintain the health of the little eco system. If an entire plant dies, take it out.
- Don’t place in direct sunlight. Remember that these are essentially little greenhouses and direct sunlight through the glass will trap heat and scorch the plants. Place in indirect light for best results.
- Afterwards, enjoy your little world or give it away and make another!
Original article by Bridgette Meinhold, Images ©Bridgette Meinhold, Google
Also checkout some of our bestselling terrarium kit given below:

