
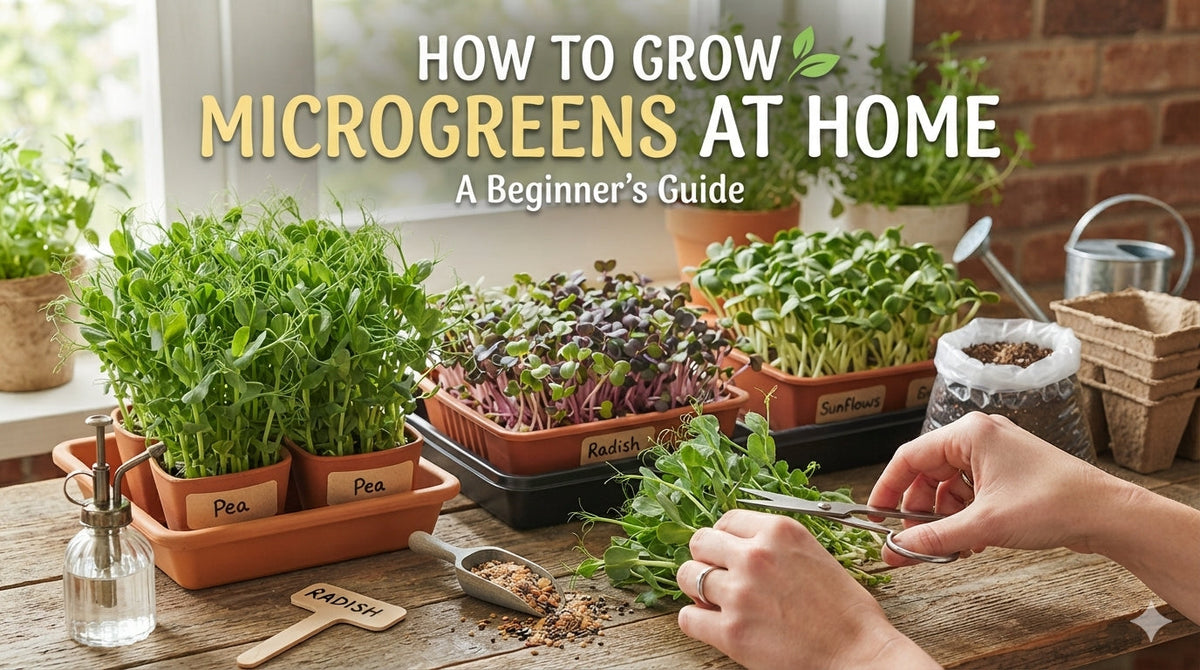
How to Grow Microgreens at Home: A Beginner’s Guide
There is something satisfying about harvesting fresh greens from your own windowsill. With a clean shallow tray, suitable seeds, cocopeat and a bright spot, you can grow many varieties of microgreens in roughly 7–14 days. Some, including basil and chard, need longer.
This beginner’s guide covers what to buy, how to sow and harvest, and which varieties to try first.
What Are Microgreens?
Microgreens are young edible seedlings of vegetables and herbs, typically harvested after the seed leaves have developed and around the emergence of the first true leaves. Unlike sprouts, which are generally eaten whole, microgreens grow in a medium and are cut above it. Harvest time and size vary by species and conditions.
They add fresh flavour, colour and texture to food. Nutrient content varies by crop, so enjoy them as part of a varied diet rather than as a substitute for vegetables.
What You Need to Grow Microgreens
- Clean shallow tray: Choose a food-safe tray with drainage holes and a second tray to catch excess water.
- Growing medium: Use clean, suitable cocopeat or another medium intended for edible crops. See our growing media.
- Suitable seeds: Use untreated seeds sold for edible microgreens, not chemically treated garden seeds.
- Water and tools: Clean water, a spray bottle and clean scissors.
- Light: A bright window away from harsh midday heat, or a suitable grow light if natural light is inadequate.
Which Microgreens Should Beginners Try?
Start with a quick-growing variety such as radish, broccoli or red mustard. Sunflower offers a crunchy alternative. Basil and red chard can be rewarding but often take longer. The timings below are general guides, not guarantees: temperature, seed quality and light affect growth.
Broccoli

Flavour: Mild and nutty. A straightforward first crop; harvest when cotyledons have opened.
Sunflower

Flavour: Nutty and crunchy. Use food-grade seed; soaking may help large seeds germinate evenly.
Radish Sango

Flavour: Peppery and colourful. Purple stems add colour to sandwiches and salads.
Red Mustard

Flavour: Spicy and lively. Start with a small amount if you prefer milder flavours.
Kale (Curly)

Flavour: Mild and earthy. A versatile topping for bowls and salads.
Red Cabbage

Flavour: Mild and slightly sweet. Colourful seedlings that suit fresh dishes.
Rocket (Cultivated)

Flavour: Peppery. Try it in salads, wraps and sandwiches.
Pak Choi

Flavour: Mild and crisp. A good addition to salads and savoury dishes.
Basil, Classic Italian

Flavour: Sweet and aromatic. Often slower than quick brassica varieties; allow extra time.
Red Chard

Flavour: Mild, beet-like. Often slower to germinate; a good second project.
How to Grow Microgreens: Step by Step
- Prepare the tray: Clean the tray and fill with about 2–3 cm of evenly damp cocopeat. The medium should be moist, not dripping.
- Sow evenly: Scatter seeds in an even layer, avoiding thick clumps. Follow any variety-specific instructions for soaking or covering.
- Support germination: Some crops benefit from a short covered period; check the seed instructions. Inspect daily and avoid leaving the tray sealed in stagnant, wet conditions.
- Provide light: Once seedlings emerge, give them adequate bright light and airflow. Protect trays from harsh afternoon heat.
- Water carefully: Keep the medium evenly moist. Bottom watering can help reduce wet foliage; drain excess water promptly.
- Harvest cleanly: When seedlings reach the appropriate stage for their variety, cut just above the medium using clean scissors. Wash before eating and refrigerate promptly if not using immediately.
Beginner tip: Sow a new tray every few days for a staggered harvest. Most microgreens are grown as a single-cut crop.
Common Mistakes to Avoid
- Overwatering: Waterlogged medium encourages disease. Check moisture before watering.
- Insufficient light: Pale, stretched seedlings need better lighting after germination.
- Poor airflow: Avoid crowding and stagnant, humid conditions.
- Unsafe seed or equipment: Use untreated edible-crop seed, clean trays and clean water.
- Suspected mould: Root hairs can look fuzzy, but if you suspect mould or notice an unpleasant odour, discard the crop rather than eat it.
Prefer an All-in-One Starter Kit?
If you are new to growing, a kit can simplify your first attempt. Explore the Zesty Green DIY Microgreen Kit or the Eco Microgreen Grow Kit. Check current kit contents and availability before ordering.
Frequently Asked Questions
How long do microgreens take to grow?
Many popular varieties are ready in approximately 7–14 days, but basil, chard and other crops can take longer. Harvest at the appropriate growth stage rather than on a fixed day.
Can microgreens grow indoors without a balcony?
Yes. A clean tray and sufficient light are the main requirements. A grow light may help if your window does not receive enough light.
Can I use ordinary vegetable seeds?
Only use seeds suitable for edible microgreen production. Avoid seeds treated with pesticides or other chemicals.
Can I harvest the same tray twice?
Most microgreens are best treated as a single-cut crop. Sow another tray for a reliable next harvest.
Start Your First Tray
Choose one or two easy varieties, follow a simple routine and observe the tray each day. Once you are comfortable with quick crops, experiment with different flavours and colours. Browse our microgreens seeds and kits to get started.
Related reading: 9 Reasons Why Your Seeds Failed to Germinate | 10 Plants Perfect for Your Kitchen Garden


